
Admin guide
This guide covers administration tasks for FASTR instance managers. Whether you’re setting up a new instance or maintaining an existing one, you’ll find step-by-step instructions for configuring users, importing data, and managing projects.
What administrators do
Section titled “What administrators do”As an instance administrator, you’re responsible for the foundation that analysts and program managers build on. Your work falls into several categories - user management, data configuration, and project oversight - each with its own set of tasks and considerations.
User management involves adding people to the platform and deciding what they can access. You’ll create accounts, assign permissions at both the instance and project level, and occasionally remove users who no longer need access. Getting permissions right matters because it affects both security and usability - too restrictive and people can’t do their work; too permissive and sensitive data or settings could be modified accidentally.
Data configuration means setting up the structural elements that define your instance - administrative areas, facilities, and indicators - then importing the actual data that analysts will work with. This includes both HMIS data (routine monthly reporting) and HFA data (facility assessments). The structure you define here determines how data can be filtered and disaggregated throughout the platform.
Project oversight involves creating analysis workspaces, configuring their data windows, installing analytical modules, and managing who can access each project. Projects are where the analytical work happens, so you’ll want to organize them thoughtfully and ensure each has the right combination of data access and user permissions.
Before you start
Section titled “Before you start”You need administrator access to your organization’s FASTR instance. If you’re setting up a new instance, you should have received login credentials from the FASTR team. If you’re joining an existing instance, another administrator needs to add you and grant admin permissions.
If you don’t have access yet, contact your organization’s FASTR administrator or email the FASTR team to request an instance.
Navigating the admin interface
Section titled “Navigating the admin interface”The main navigation bar at the top of the screen shows tabs for the different areas you can manage. What you see depends on your permissions - instance administrators see all tabs, while users with partial permissions see only the areas they can access.
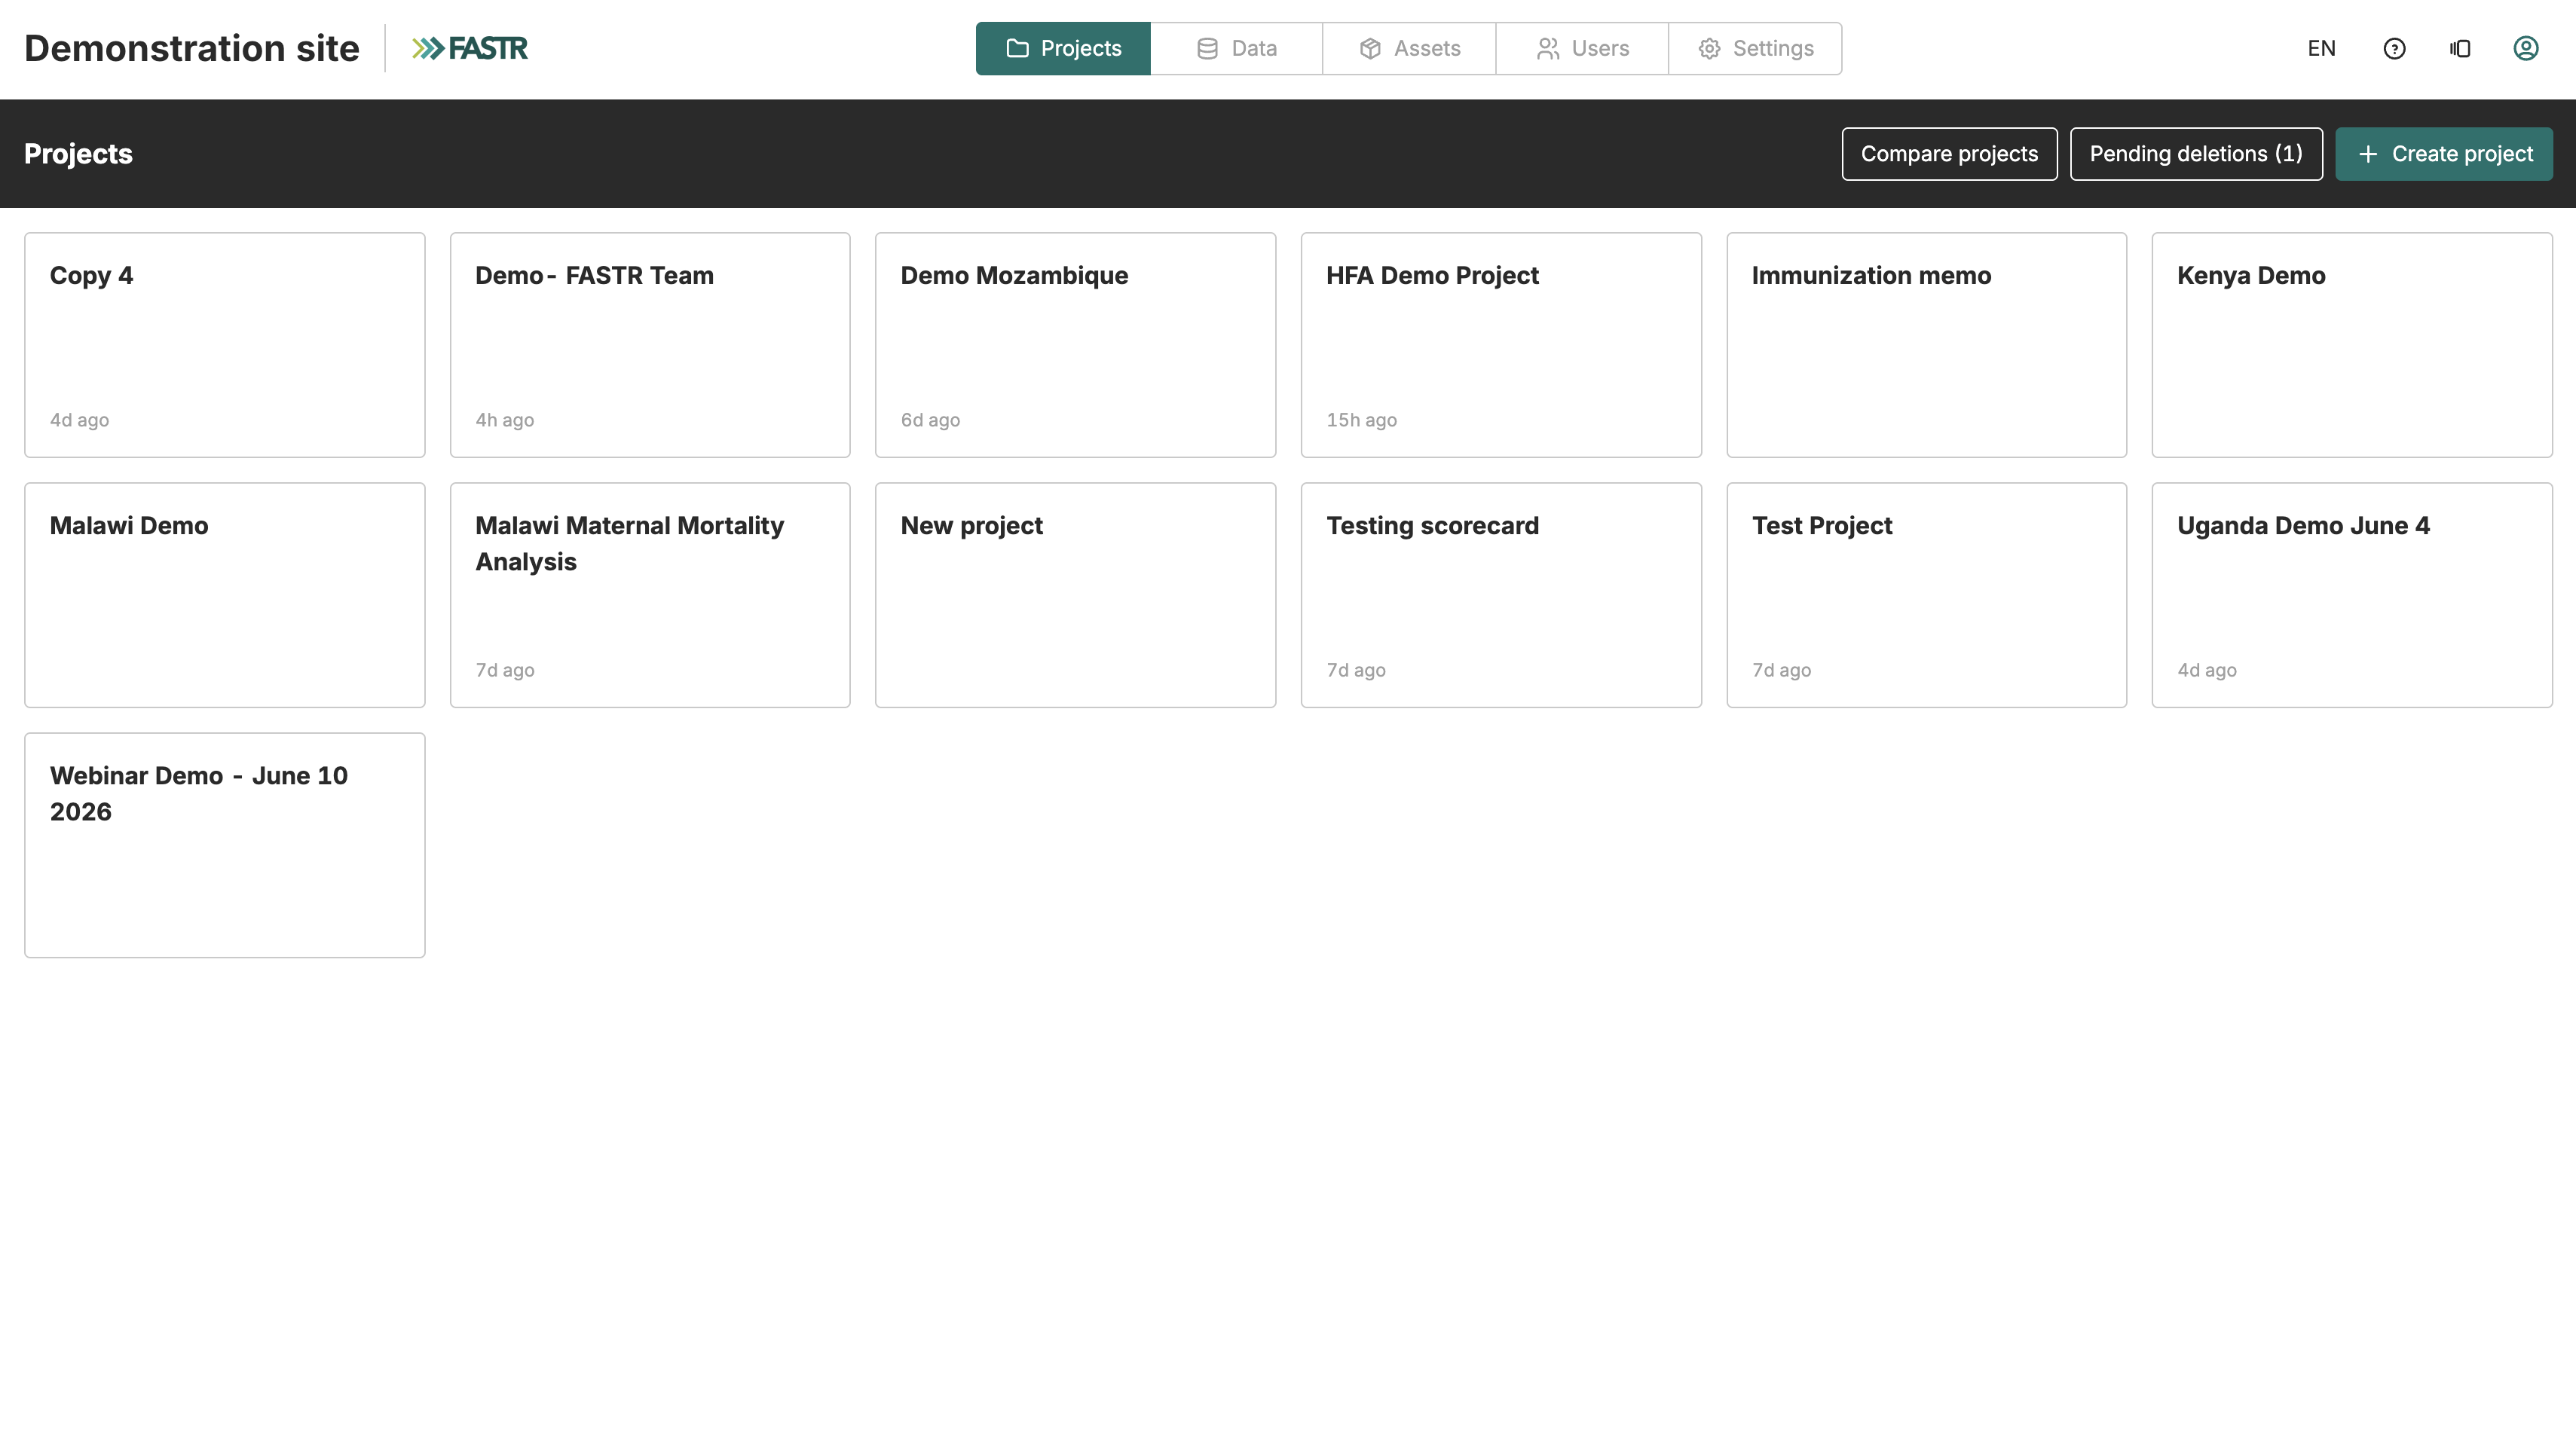
The Projects tab lists all projects in your instance and lets you create new ones. Data is where you configure structure (admin areas, facilities) and import datasets — it also includes configuration cards for admin area labels, facility columns, and GeoJSON maps. Assets holds uploaded files like CSV templates and GeoJSON maps - all users can view and upload assets. Users shows everyone with access to the instance and their permissions.
The interface is available in English, French, and Portuguese. Use the language selector in the top navigation bar to switch between them. A bell icon in the top navigation bar shows release announcements - a yellow dot on the icon means there are unread posts. Click the bell to browse all announcements.
Getting help
Section titled “Getting help”Click the Help button in the top navigation bar to open a menu with several options: Guided tours walks you through key areas of the platform step by step; Ask for help sends a support request directly to the FASTR team; Send feedback lets you report a bug, a suggestion, or ask a general question; and Documentation opens this documentation site. Guided tours are available for every major section of the instance and can be replayed at any time.
Common first steps
Section titled “Common first steps”When setting up a new instance, you’ll typically work through these tasks in order:
- Define your administrative structure - the geographic hierarchy of regions, districts, and smaller units
- Import your facility list with facility types and geographic assignments
- Define indicators for the data you’ll be importing
- Upload your first HMIS dataset to test the configuration
- Create a project and configure its data window
- Add users and assign them to projects
Each of these steps has its own page in this guide with detailed instructions.
In this section
Section titled “In this section”- Users - Managing user accounts and permissions
- Structure - Admin areas, facilities, and GeoJSON maps
- Indicators - Defining HMIS and HFA indicators
- Data: HMIS - Importing routine health data
- Data: HFA - Importing facility assessment data
- Projects - Creating and configuring analysis projects
- Modules - Installing and managing analytical modules