
Modules
Modules are the analytical engine of FASTR. Each module runs R scripts that process your project’s data - calculating indicators, detecting outliers, generating coverage estimates, or performing other statistical analyses. The results become metrics that power your visualizations and reports. Modules are configured at the instance level through results packages, which are then attached to projects.
Understanding module architecture
Section titled “Understanding module architecture”A module has two parts. The compute definition contains the R scripts that process data and produce results - these run in isolated Docker containers. The presentation definition specifies which metrics the module produces and how they can be visualized.
Modules are included when generating a results package at the instance level. A results package bundles together the outputs of all selected modules for a chosen set of data. Projects serve their visualizations from an attached results package.
Configuring module defaults
Section titled “Configuring module defaults”Instance administrators can set default module selections and parameter values that pre-fill the results package generation wizard. Navigate to Results packages at the instance level and click Module defaults. Select which modules are pre-checked by default and set default parameter values for each.
Module parameter values are set only in the module defaults editor — the generation wizard uses them as stored and does not provide a separate editing step. Every results package that includes a module uses the parameter values recorded here, so configure them before launching generation.
Generating a results package
Section titled “Generating a results package”To produce module outputs, generate a new results package from the instance Results packages page. Click Generate new results package to open the wizard. The wizard walks you through three steps: selecting which data families to include (HMIS, HFA, ICEH equity data), choosing which modules to run, and confirming the label and optionally attaching the package to specific projects immediately.
The wizard is an ephemeral modal — nothing is saved to the server before you click Launch generation. The entire configuration (data family selections, module choices, label, and attach targets) is submitted in a single step. If you close the wizard before launching, nothing is stored.
After you click Launch generation, FASTR pins the new run’s ID so that the detail pane opens for it as soon as the SSE notification arrives. You can leave the page and follow progress on the Results packages surface.
Step 1 — Choose data
Section titled “Step 1 — Choose data”Select which data families this results package is generated from. Each included family is captured in full. Only families that have data uploaded to the instance are available for selection. If a DHIS2 import run is currently active, HMIS is shown as unavailable until the import completes or is cancelled.
Step 2 — Configure modules
Section titled “Step 2 — Configure modules”Choose which modules to run. Selecting a module automatically includes all modules it depends on; a module cannot be unchecked while another selected module depends on it. Modules that require data families not chosen in step 1 are shown as unavailable, with a note naming which family is missing so you can go back to step 1 and add it.
Parameter values are not editable here. If any selected module has invalid default parameter values stored in the module defaults editor, the wizard names those modules and blocks progression until you fix the values in Module defaults.
Available modules include:
- M11. Bayesian disruption detection (LI model) — detects service disruptions using a Negative Binomial Bayesian model. Produces observed, expected, lower bound, and upper bound series that power the Bayesian disruptions chart. Requires M2 as a prerequisite.
- M12. Indicator values — computes derived common indicator values by applying each indicator’s formula to the summed ingredients from the HMIS extract. Requires M2 as a prerequisite. When population terms are used in indicator formulas, M12 uses person-years data from the population store; areas and months not covered by the population store are dropped for those indicators.
Step 3 — Confirm and launch
Section titled “Step 3 — Confirm and launch”Enter a label for the results package and review the data and module selections. The label must be unique — if the suggested default label is already taken, the wizard adjusts it automatically. Optionally, select projects to attach the new package to immediately — these projects will switch to the new package when generation succeeds. Click Launch generation to start.
Population data and M12
Section titled “Population data and M12”When one or more indicator formulas reference a population term (written as [population:type_id]), M12 requires population data to be imported at the instance level before generation. The generation will fail if population data is referenced but not present for any area of the current HMIS structure at the configured population level.
The population level must be set on the instance Population page and must not be deeper than the HMIS structure’s admin area depth. If the population level is deeper than the structure, generation fails with a clear message explaining the mismatch.
For areas and months where population data exists, M12 computes the indicator. For areas or months where the population store has no coverage, M12 drops those cells for population-dependent indicators rather than failing the whole generation. The results package records which population types were active and what coverage was achieved.
Pruning results packages
Section titled “Pruning results packages”As you generate packages over time, old ones accumulate. Click Prune on the Results packages page to open the prune dialog. FASTR shows which packages will be deleted (those not attached to any project, not pinned, and not currently generating) and which will be kept and why. Confirm to delete all eligible packages in sequence — a progress list shows each deletion as it completes. Packages attached to a project between the time you confirm and the time that package’s turn arrives are skipped rather than aborting the whole operation.
Pinning a results package
Section titled “Pinning a results package”Administrators can designate one ready package as the instance’s pinned package. Projects that have Always use the instance’s pinned package enabled are automatically repointed whenever the pin changes. To pin a package, open its detail view on the Results packages page and click Pin. To unpin, click Unpin on the currently pinned package.
Before pinning, FASTR shows which follow-pinned projects will be repointed. Locked projects are skipped automatically and remain on their current package.
The pinned package is also the package the FASTR MCP connector reads. When you connect a compatible AI client to your instance’s MCP endpoint, it reads metrics and data from whichever package is currently pinned.
Module execution and status
Section titled “Module execution and status”Each module in a results package displays its current generation status:
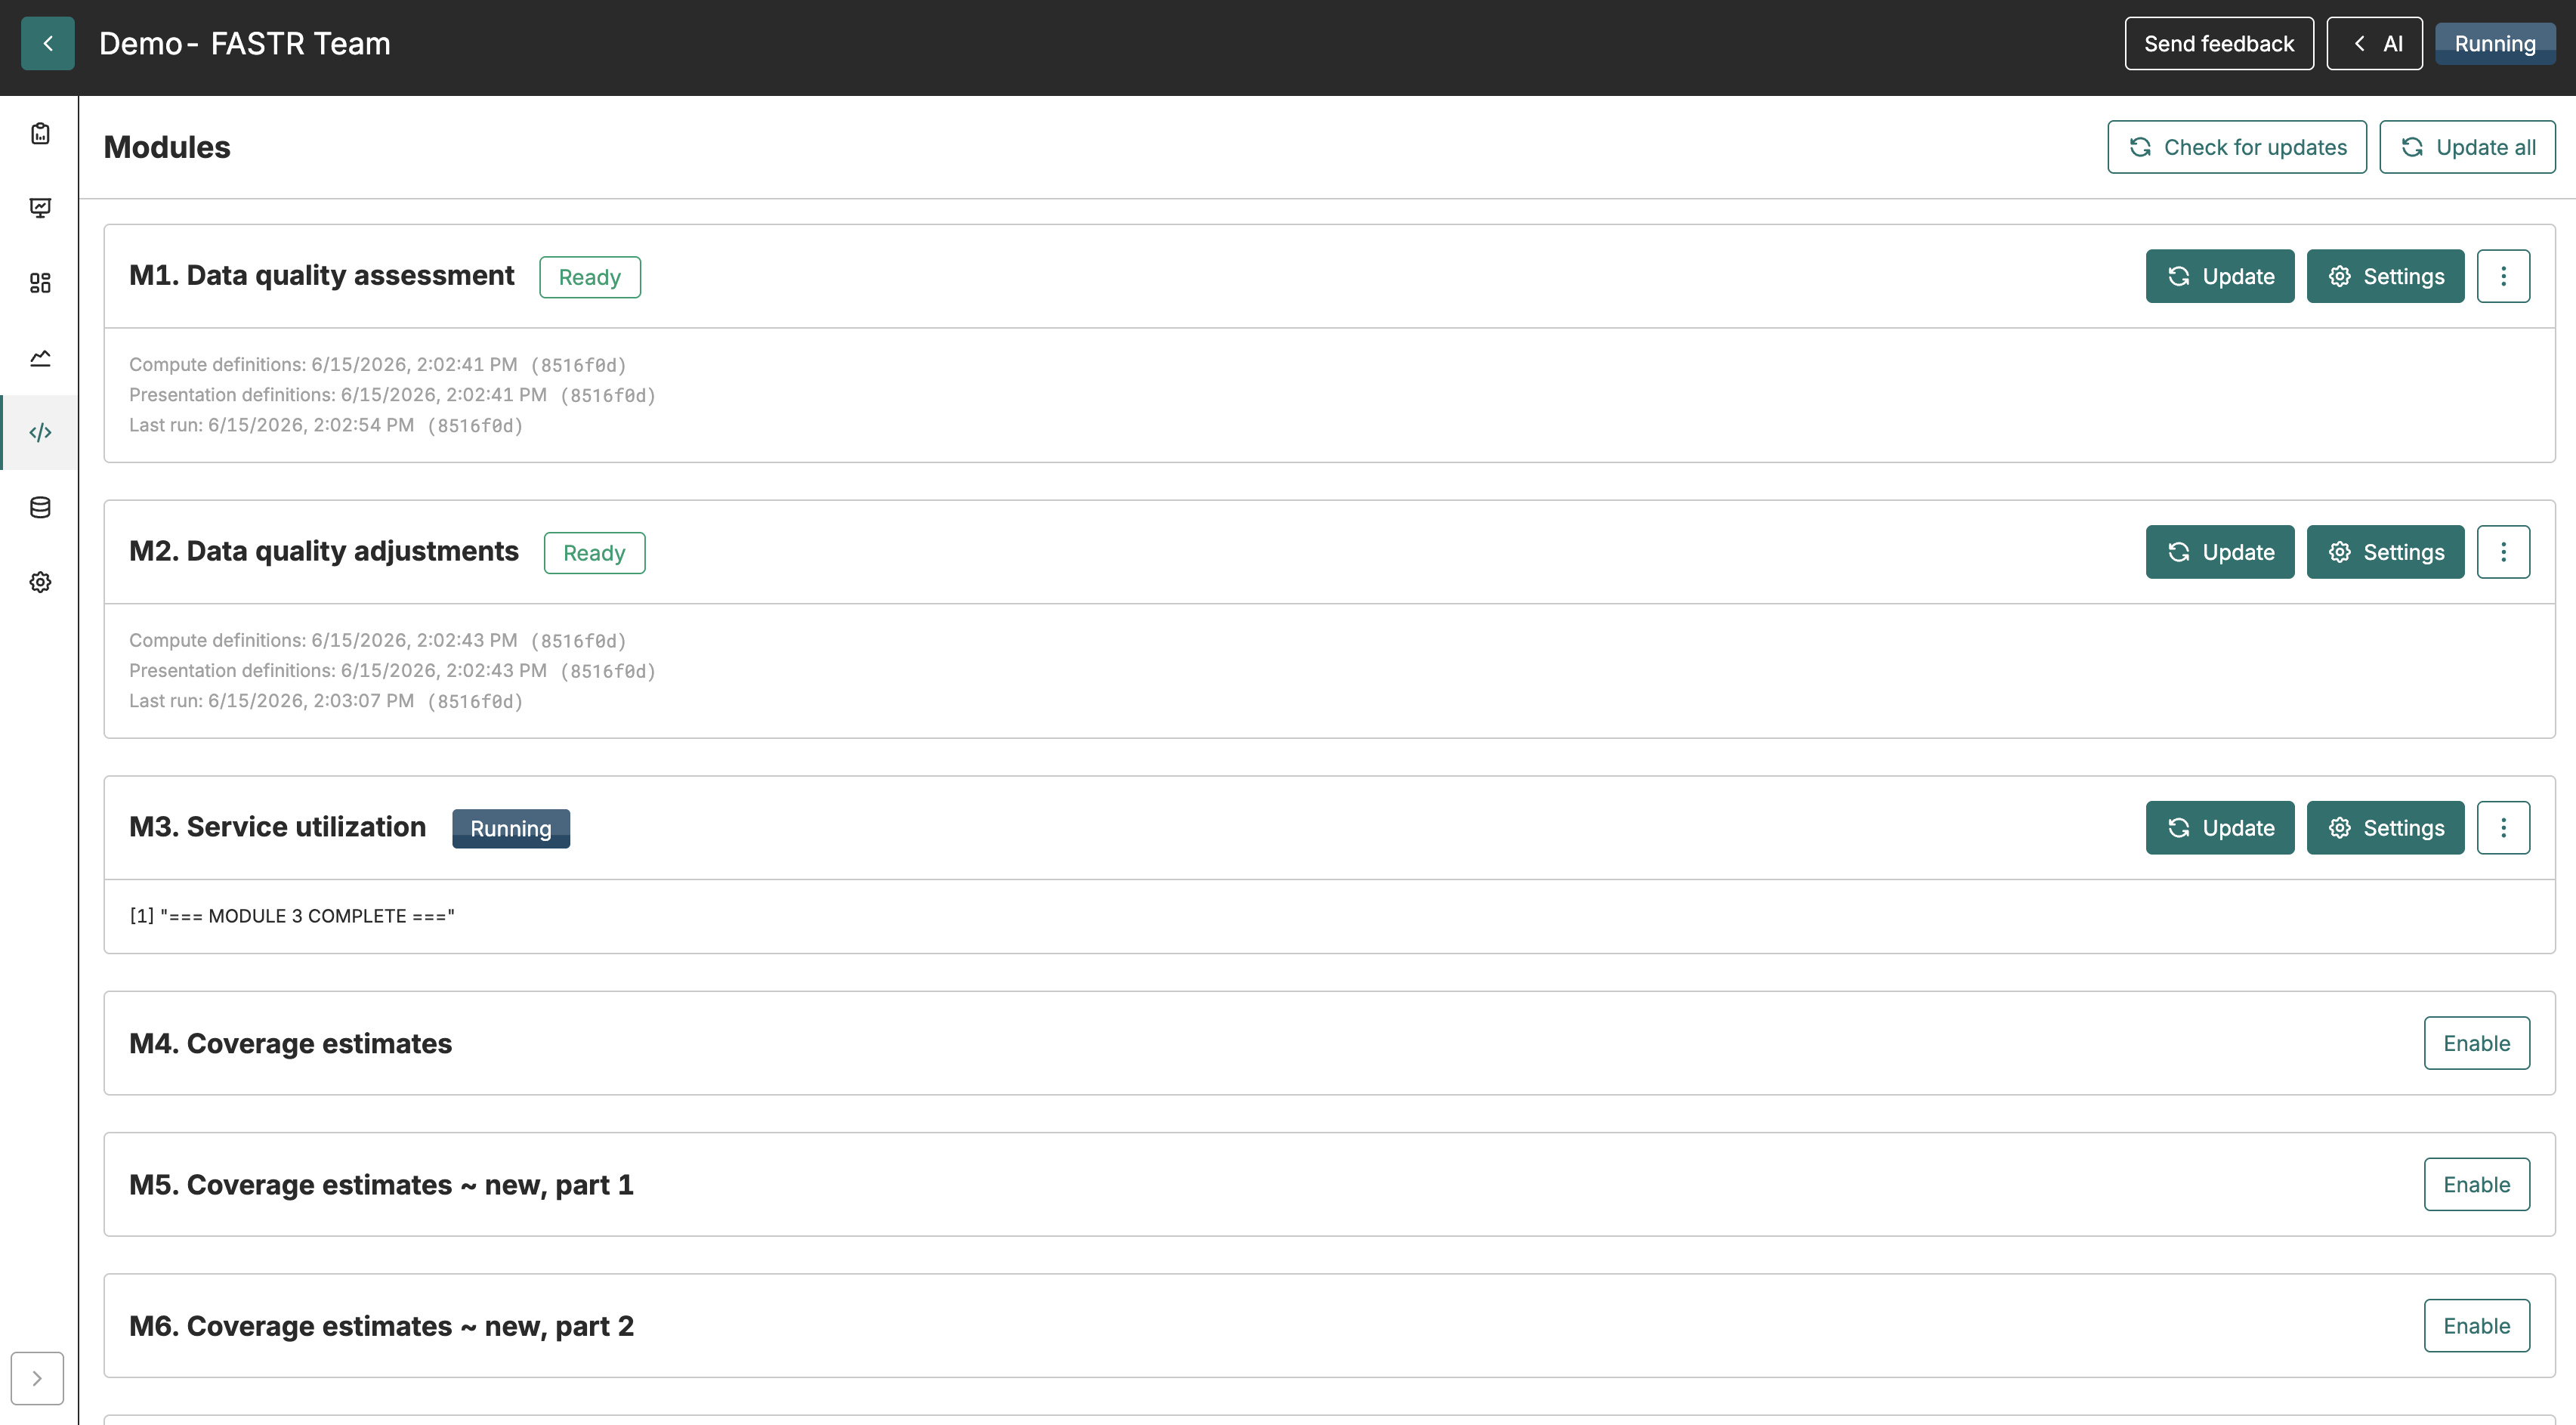
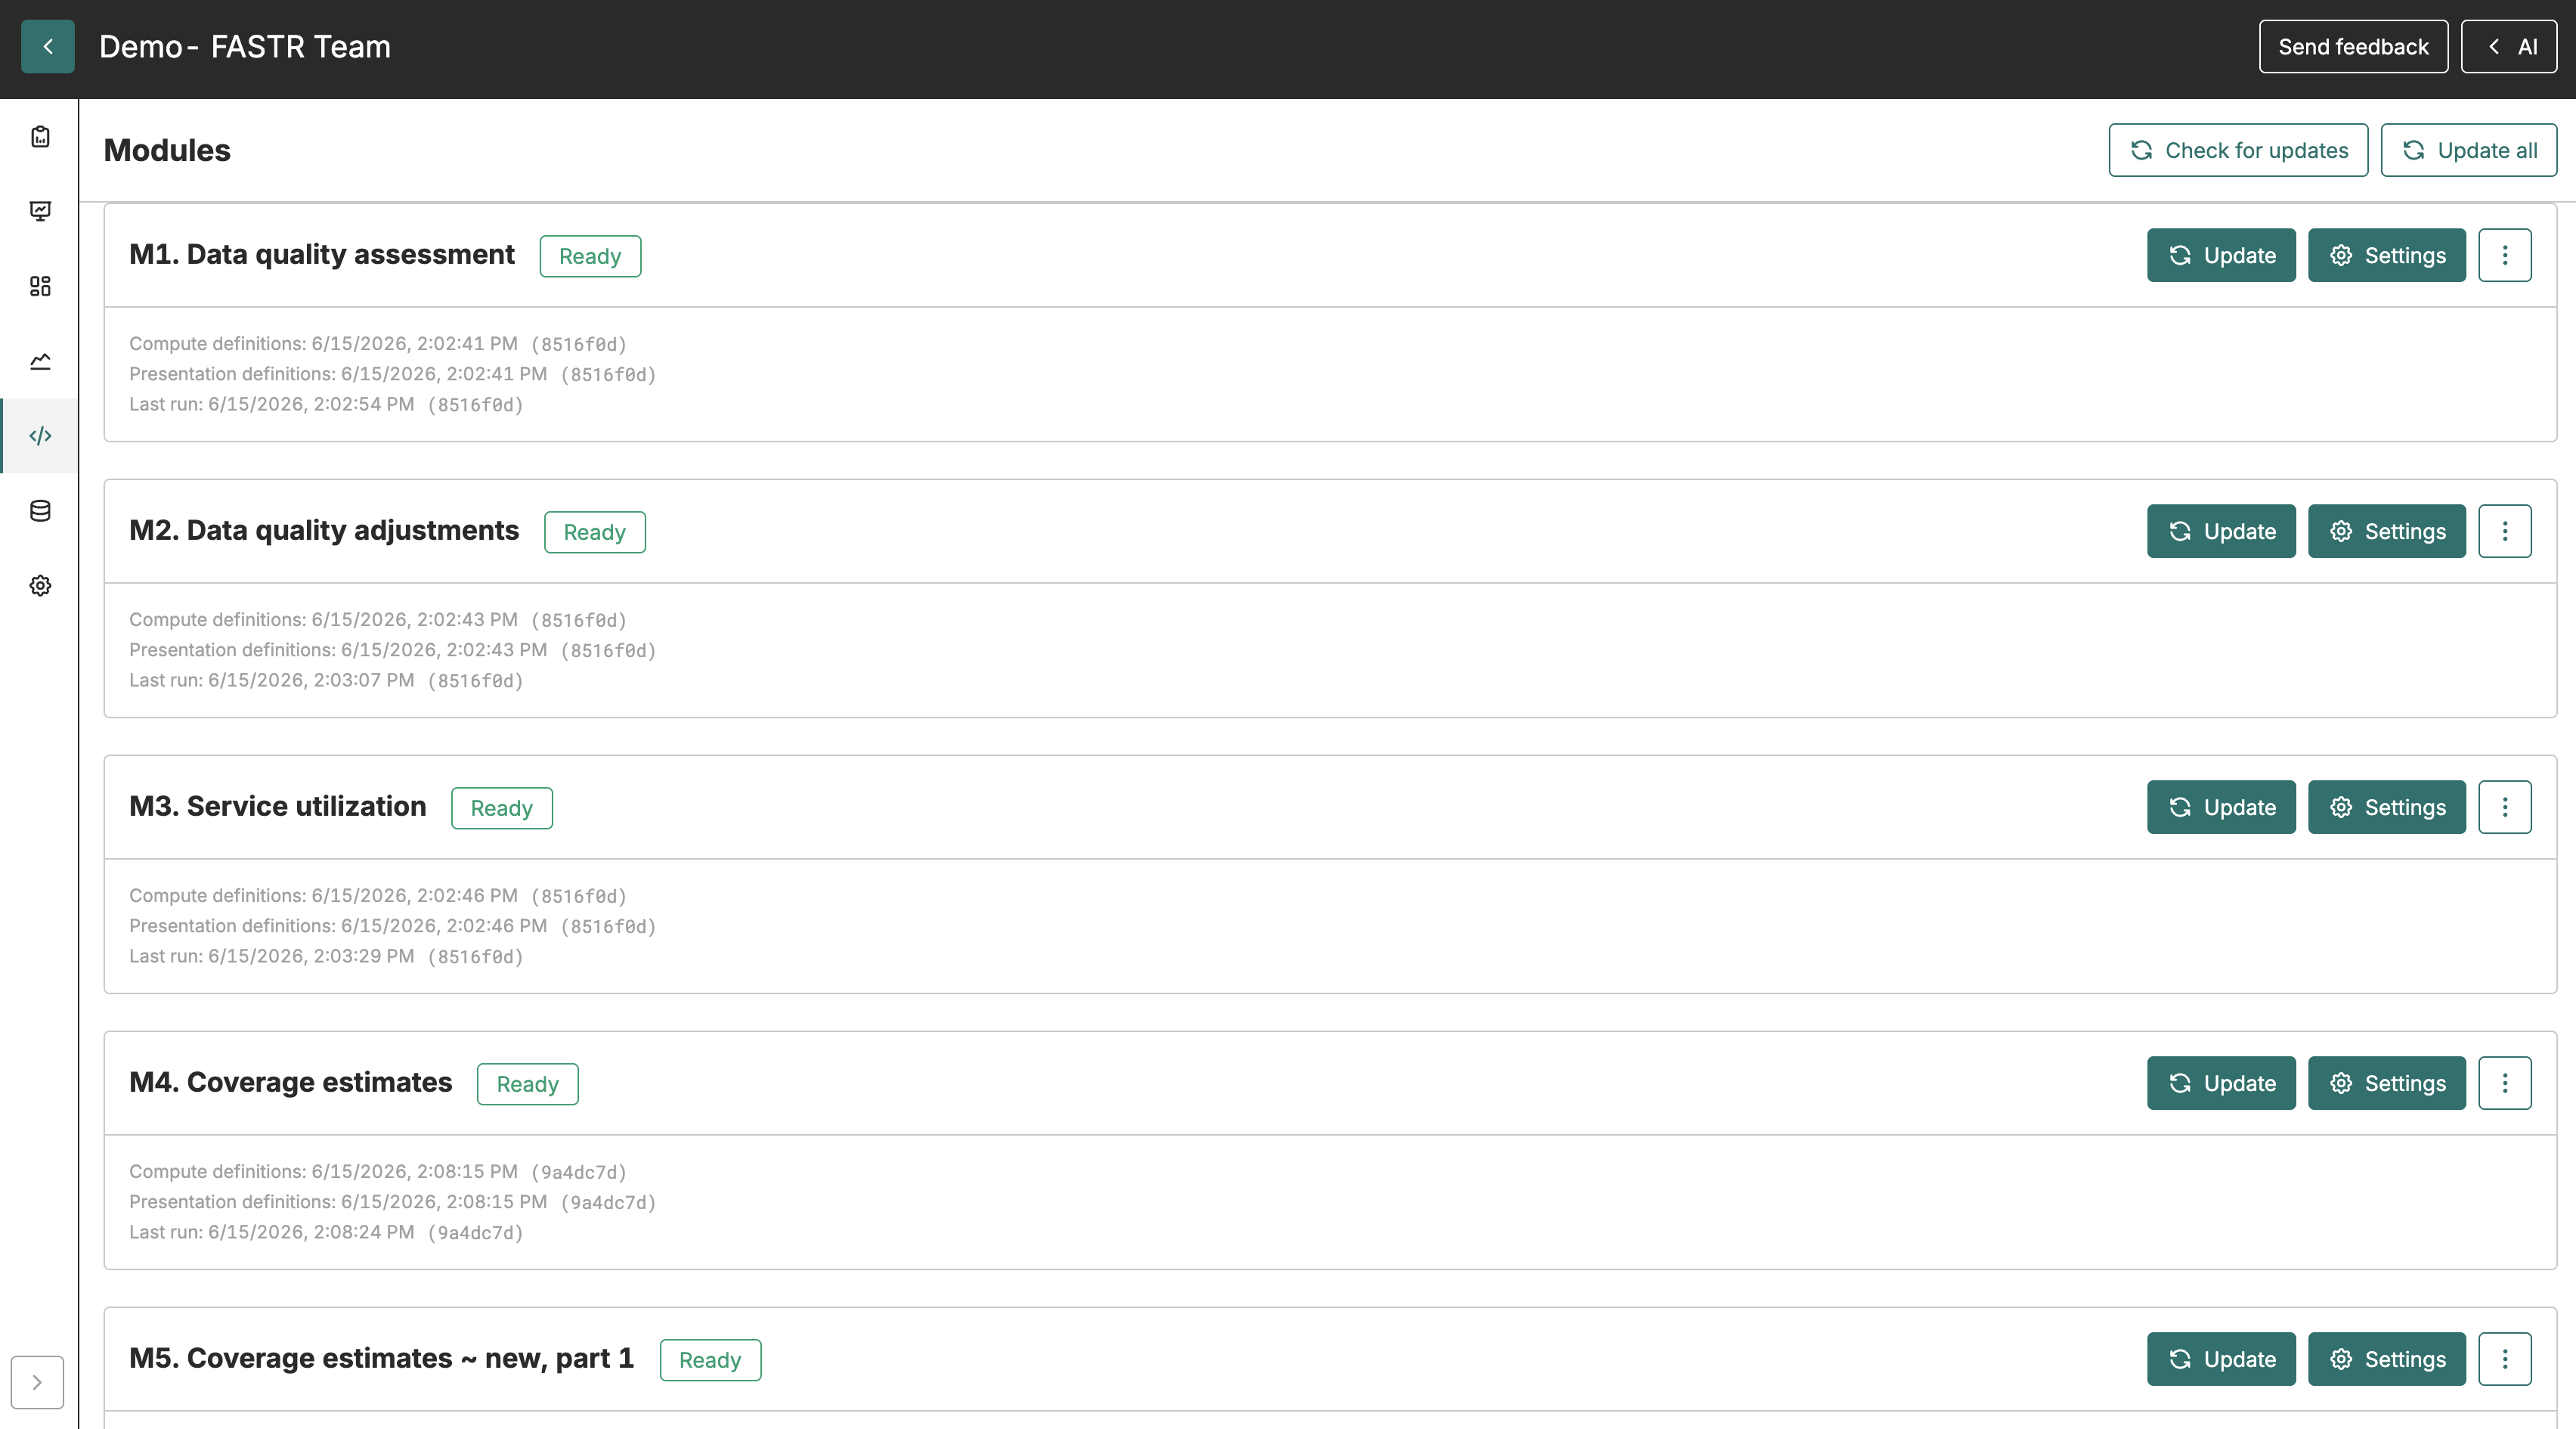
- Ready means results are available. You’ll see timestamps and which data and parameter versions produced the output.
- Running indicates the module is currently generating. Progress messages show which step is executing.
- Error signals something went wrong during generation.
Once a package is fully generated its status is shown on the results packages catalogue page.
Viewing logs and diagnostics
Section titled “Viewing logs and diagnostics”When a module errors or produces unexpected results, check the logs from the results package detail view. Access Logs to see R console output, warnings, errors, and timing information.
For complex issues, view Script to see the exact R code that ran. The Files option shows data files the module produced, useful for manual inspection of intermediate results.
Script and file access require the View data permission; log access requires the View logs permission. These permissions apply whether you are browsing from the instance catalogue or from a project’s Results package tab.
Deleting results packages
Section titled “Deleting results packages”To remove a results package, select it in the instance results packages catalogue and click Delete. FASTR refuses to delete a package while any project is using it, while it is pinned, or while it is still generating. The detail pane explains the reason when deletion is blocked. Deletion permanently removes the package’s files and cached results and cannot be undone.